Closing Landing Gear on an Easy Model Plane
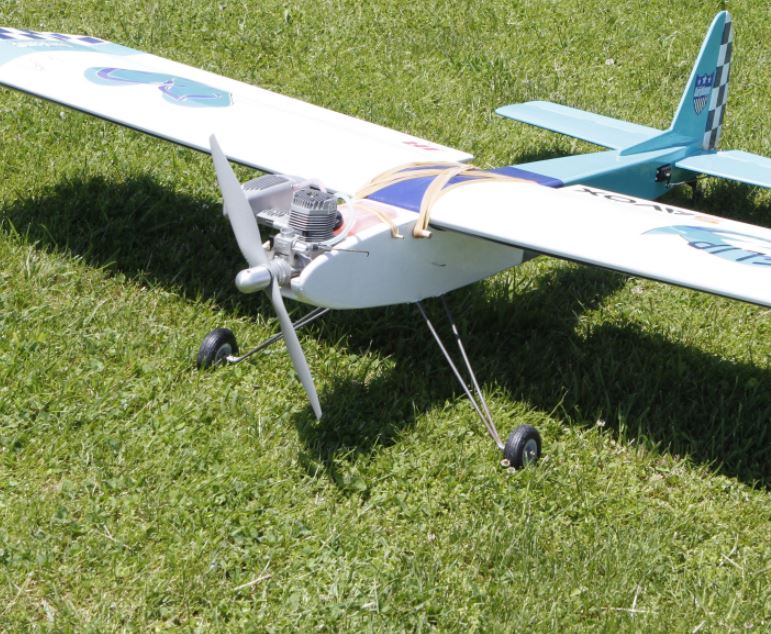
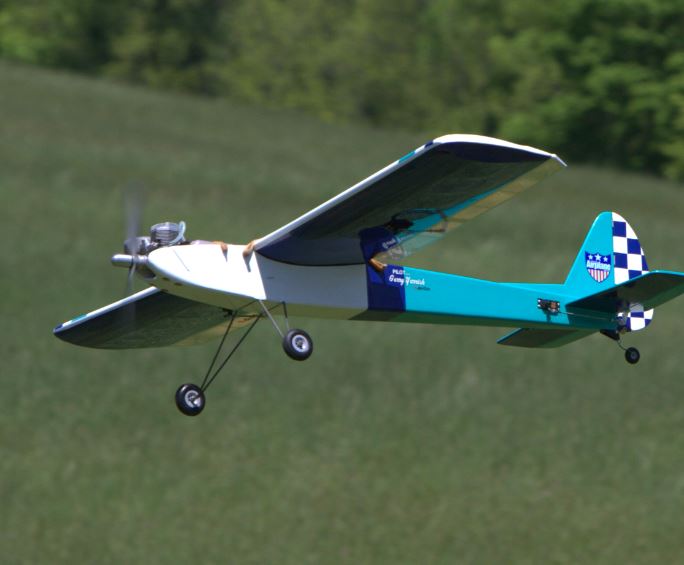
While building sport airplanes from kits, often the airplane will have landing gear made from formed and bent music wire that you will have to solder together. For Fun Fly airplanes like the Florio Flyer 60, the music wire are a little extra long to provide plenty of ground clearance for the propeller, very important for touch and goes and spot landings.
Soldering the gear seems difficult at first but it is very easy if you know the technique. Here's how I do it.

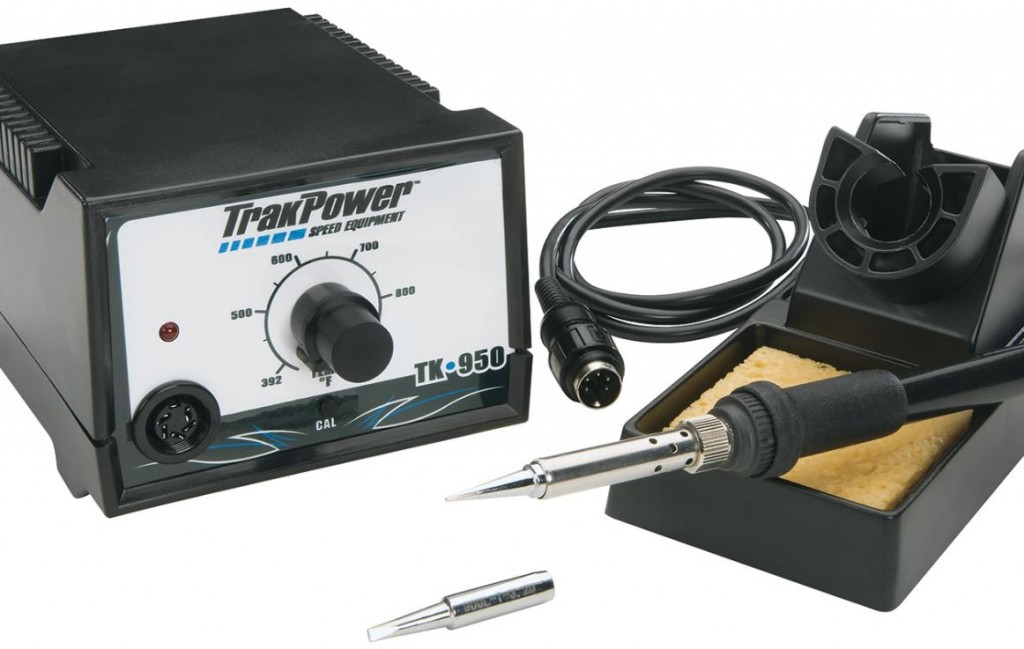
(Above) I do most of my heavy-duty soldering with a soldering station like this one from TrakPower, available from Hobbico. (hobbico.com) You can adjust the output and there are replaceable solder tips to use. Use the wide tip for fast heat transfer.
The biggest secret for strong solder joints is to use plenty of heat. This is best accomplished with a good quality soldering station. If you want to use a plain old hobby grade soldering iron/pen, the higher the wattage, the better. If you are having trouble getting the solder to flow into your joint, it's because the wire is drawing the heat away too quickly. You should use a 60 to 80 watt gun.

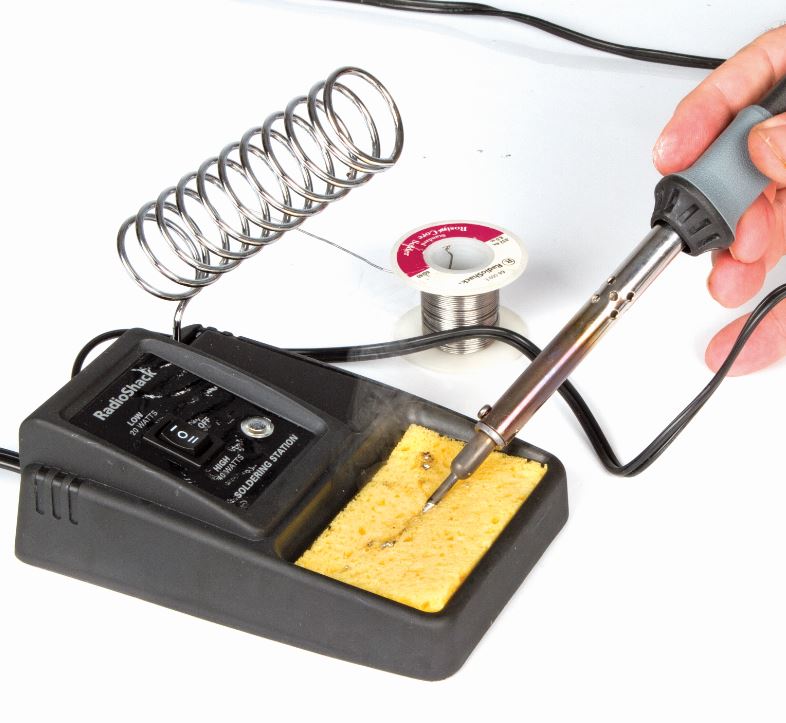
(Above) This soldering station from Radio Shack (20 to 40 watts,) is an excellent unit for basic electrical wire and connectors, but it does not supply enough heat for soldering wire landing gear. You need at least 60 to 80 watts. The more wattage the faster the parts will heat up making the solder flow easily into the joint.

To produce strong heavy duty solder joints for wire landing gear, I use high silver content Stay Brite solder and liquid flux. Also, I used fine copper wire to bind the wire together and fine sandpaper to clean the areas where the solder joints will be made. Again a good high wattage soldering gun/iron should be used.

To keep the landing gear properly aligned, attach them to the mounting blocks on the fuselage with metal straps and glue. I like the metal straps available from Du-Bro Products.

Sand and clean the wires where the solder joint will be made, then wrap the joint area using thin brass wire . Keep the wraps tight and neat and apply several drops of the liquid flux to the joint area. Notice I just let the excess copper wire hang from the joint.

(Above) A properly soldered joint will look smooth and shiny. If the solder joint is dull and rough, you did not use enough heat.
Apply the solder to the back side of the wrap that's away from the soldering iron and solder. Lightly touch the wrap with the tip of the solder and when it is hot enough, the solder will flow into the joint. Keep applying heat and feed in the solder to fill the voids of the joint. When the joint is filled remove the solder and the heat and let cool. When everything has cooled down, cut away the excess copper wire wrap and use a wire brush and some Acetone solvent to clean away the soldering flux. If you don't clean the solder joints they will eventually corrode and weaken the joint.

That's it. once your model is covered and finished, reattach the wire landing gear and install your wheels and lock collars. This type of landing gear is very sturdy and will absorb a lot of abuse at the flying field. If you happen to bend the gear, they can be easily rebent back into shape. Should you break a solder joint, then you'll have a lot more to repair. It takes a lot of force to break a properly soldered set of landing gear.

Source: https://www.modelairplanenews.com/soldering-wire-landing-gear-the-easy-way/
0 Response to "Closing Landing Gear on an Easy Model Plane"
Post a Comment